
Guides
Prism Siege: movement first, upgrades next
Find your footing in Zarocer’s geometric survival game. Learn the controls, build useful upgrade combinations and resume your run.
October 8, 2026 · ZarocerRead guide
Plan the gap, protect solved rows and handle the final tile pairs in Zarocer’s 15 Puzzle. A practical sliding-puzzle strategy with a real board capture.
By Zarocer · October 11, 2026 · 8 min read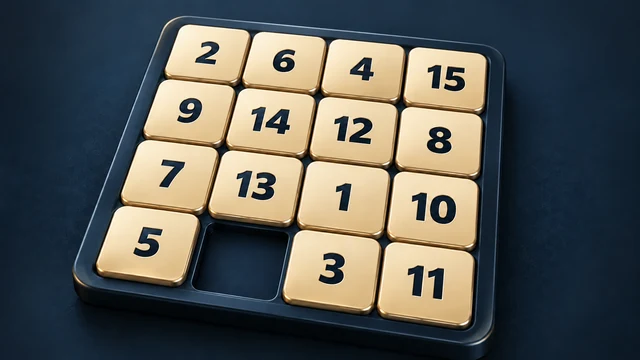
The 15 Puzzle looks like a task about putting numbers in order, but every move depends on the one square without a number. A tile can move only when it is next to that gap. Thinking about the gap first changes the problem from “How do I move the five?” to “How do I bring space beside the five without breaking the part I have solved?” That second question gives you something concrete to plan.
In Zarocer's Fifteen: 15 Puzzle, the target is the numbers one to fifteen in reading order, with the empty square at the bottom right. The game offers Easy, Classic and Expert choices, a daily challenge, Undo and Show goal. This guide explains a practical planning approach rather than providing a move sequence for a particular starting board. A sequence that works on one shuffle should not be presented as a universal solution to every arrangement.
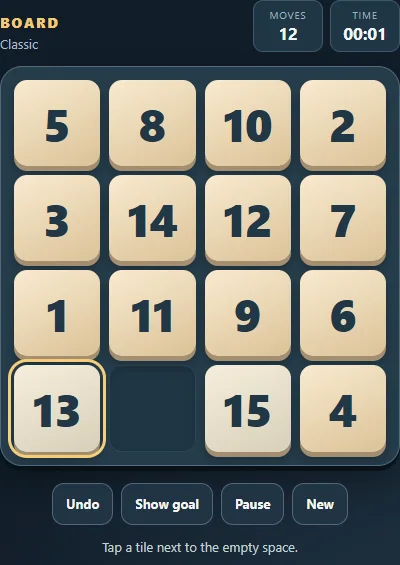
Use Show goal to establish where each number belongs. The first row contains one through four; the next contains five through eight. This sounds obvious until you are concentrating on several moving tiles and lose track of the intended final pair. Check the goal before a long maneuver instead of relying on a vague recollection. The goal display is a reference for the arrangement, not a button that performs a solution for you.
Compare the current board with that target in small regions. Find one, then identify two and three without immediately moving them. A tile's distance from its target is only part of the problem. You also need space for the gap to travel around it. A tile that is visually close to the correct square may require several preparatory moves because the useful neighboring square is occupied by another tile you need to preserve.
Begin by working toward the top row while leaving the lower part of the board available for movement. Once a tile is correctly placed, try not to use it casually as a passage for the gap. Treat the completed region as a boundary. This does not mean a correct tile must never move again; it means you should have a specific reason and a restoration plan before disturbing it.
A useful practice is to name the next short objective before acting. “Bring the gap below two” is better than “Move things until two looks closer.” If you cannot describe the objective, take a moment to inspect the board. The puzzle becomes harder to learn when each click is an experiment with no record of what you hoped it would accomplish. Short, deliberate plans are easier to diagnose when they go wrong.
Moving the gap around a two-by-two area cycles the tiles in that area. This is a basic maneuvering idea: a tile can enter a different position while the gap returns near its original location. The direction of the cycle matters, and the exact result depends on the four current squares. Try it in an unsolved area, then use Undo to compare the beginning and end if the effect is not yet clear.
Do not describe every cycle as progress. A cycle is useful only if it supports your next objective. Sometimes you need to move a tile temporarily away from its goal to put the gap on the correct side. Judge the maneuver by what position it makes possible afterward, not by whether every individual move reduces visual distance. That is the main reason a sensible solution can contain moves that initially seem to go backward.
The final two positions of a row deserve special attention. Placing one tile too early can leave the other trapped underneath it, with no convenient route into its final square. Instead of fixing the third tile immediately, inspect the pair and the squares below. You want a setup that allows both tiles to enter their correct order through a controlled maneuver, while the unsolved region remains usable.
For the top-row pair, a useful intermediate setup puts four in the third position, three directly below it and the gap in the upper-right corner. Sliding four right puts it in its final square and leaves space above three; sliding three up then completes the row. Preparing that setup is the real task. Avoid trapping three in the upper-right corner while positioning four. The example explains a target arrangement for the maneuver, not a fixed sequence of moves from every possible shuffle.
When only two rows remain, solving individual tiles from left to right can create awkward traps. Think in pairs of columns instead. Each pair contains a tile for the upper remaining row and one for the lower row. Positioning these together preserves a rectangular area where the gap can still circulate. This is the same planning principle as the final pair of a row, applied to a different shape.
Keep checking that the region you leave unsolved is connected enough to permit movement. A small isolated-looking gap does not give you freedom merely because several tiles remain wrong. The geometry of the remaining area controls which cycles are possible. If you repeatedly disturb a solved tile just to move the gap, reconsider whether you fixed part of the boundary too early rather than assuming the game has stopped allowing a legal move.
Undo is especially valuable when you use it as a comparison tool. Make a short planned maneuver, inspect the result, then undo the same moves if it did not achieve the intended setup. Ask which move changed the gap's position in an unhelpful way. Simply undoing until the board looks familiar is less informative than identifying the precise decision that removed your working space.
Try keeping one learning attempt separate from an attempt focused on your personal record. During learning, accept extra moves if they help you understand a rotation. During a record attempt, use the patterns you already understand. The published game tracks progress locally, but this guide does not promise that assisted attempts have the same status in every mode or that a portal-wide leaderboard is connected. Read the game interface for the result it actually records.
Click or tap a tile adjacent to the gap to slide it. The published desktop controls also allow arrow-key input; Z undoes a move and P pauses. Arrow input describes movement into the gap, so check the first few moves carefully instead of assuming it matches moving a cursor across the board. On a touchscreen, a deliberate tap is often easier to interpret than rapid repeated taps while a tile is moving.
If a tile does not move, first check adjacency. A tile across the board cannot travel directly into the empty square. This is a rule constraint, not necessarily an input failure. Pause when you need to examine a pattern without rushing. Switching to Theater or Fullscreen should be treated as a viewing choice, not a strategy or a separate version of the puzzle with different legal moves.
The first trap is chasing whichever tile looks closest to completion. This can pull the gap through a region you were about to protect. The second is finishing one member of a row pair before considering the other. The third is reacting to every mistake by moving more tiles quickly. All three habits replace a clear intermediate objective with local tidiness, which is not the same thing as a board that remains easy to solve.
A fourth trap is interpreting the daily challenge as a new rule set. The published listing identifies a daily puzzle, but the core sliding rule remains the same. Use your planning method on the current arrangement rather than importing yesterday's moves. The useful continuity is your understanding of regions and cycles, not an assumption that the same sequence is appropriate for each new starting board.
For your next session, aim to place the first row deliberately and explain how you positioned its final pair. Stop there if that was the skill you wanted to learn. On another attempt, focus on the final two rows. Separating these tasks helps you notice progress even before you are comfortable completing the whole board. A complete solution is satisfying, but understanding one previously confusing maneuver is also a meaningful result.
Return through the same browser and domain if you want to use the game's native continuation and local records. Do not clear site data as a troubleshooting step without considering saved progress. When you want a related planning challenge with a different movement rule, Tower of Hanoi replaces the grid with three pegs and ordered disks. The Brain Games collection offers both formats without pretending they require the same solution method.
Find your footing in Zarocer’s geometric survival game. Learn the controls, build useful upgrade combinations and resume your run.
October 8, 2026 · ZarocerRead guide
A practical first stop before defending the Circle: explore the native guide, choose your mode and return to a saved match.
October 8, 2026 · ZarocerRead guideUnderstand what a favorite saves, how Continue Playing works and why game progress stays with your browser.
October 8, 2026 · ZarocerRead guideUse the game’s supported devices, touch controls and screen orientation to make your next mobile session more comfortable.
October 8, 2026 · ZarocerRead guide
Compare Nonogram Atelier, Hitori and Futoshiki through worked deductions, real controls and different rules. Choose your next logic puzzle on Zarocer.
October 11, 2026 · ZarocerRead guideRead Circle TD’s closed circuit, surviving enemies and upcoming waves. Learn how to evaluate tower coverage, targeting and upgrade decisions.
October 11, 2026 · ZarocerRead guide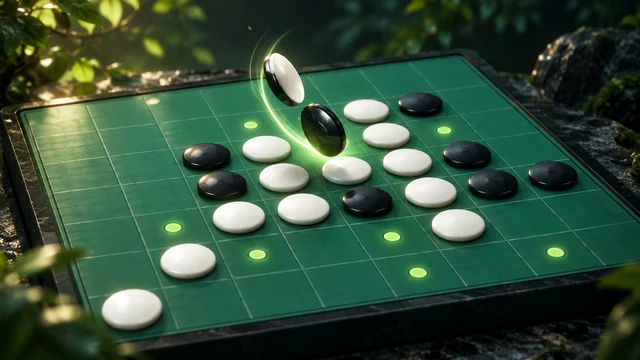
Look beyond the biggest flip in Reversi. Understand corners, mobility, frontier discs and endgame decisions with the playable Zarocer version.
October 11, 2026 · ZarocerRead guide
Practise Target Archery by separating wind correction from draw timing. Use the repeatable tournament, read both wind axes and compare your shots.
October 11, 2026 · ZarocerRead guide
Search the center letter, understand the seven-letter bonus and use the curated answer list in Zarocer Letter Hive. Includes practical examples.
October 12, 2026 · ZarocerRead guide
Learn how errors affect Typing Speed Race scores, read characters per minute correctly and compare practice attempts under consistent conditions.
October 12, 2026 · ZarocerRead guide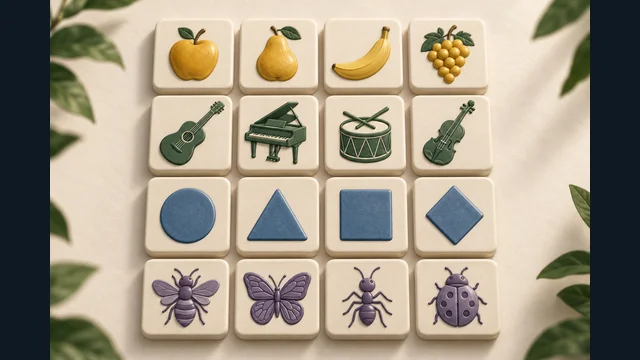
Find precise families in Word Quartets, check overlapping concepts and interpret near-miss feedback without wasting your four mistakes.
October 12, 2026 · ZarocerRead guide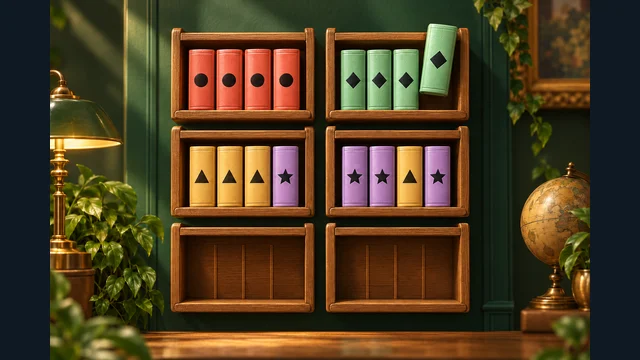
Plan legal book transfers in Shelf Sorting. Read exposed symbols, protect working space and use a concrete sequence to uncover a new empty shelf.
October 12, 2026 · ZarocerRead guide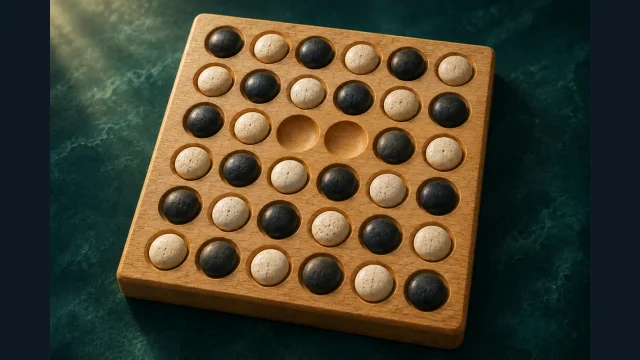
Learn the opening removals, straight capture chains and legal landing spaces in Zarocer’s 6×6 Kōnane. Plan for your next jump, not a capture score.
October 12, 2026 · ZarocerRead guide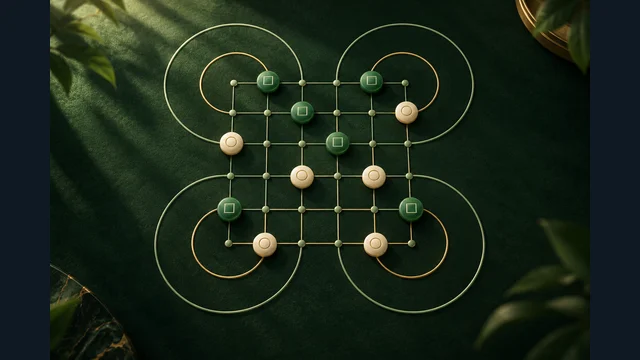
Trace legal loop captures in Zarocer Surakarta, identify blockers and compare landing positions. Includes Beta status and digital-rule boundaries.
October 12, 2026 · ZarocerRead guide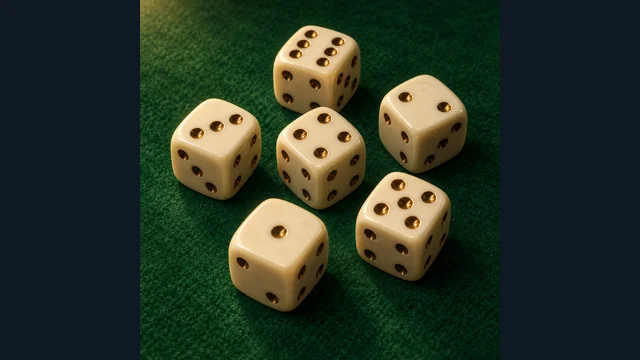
Understand banking, hot dice and one-die risk in Zarocer’s solo Farkle: ten turns, a 5,000-point goal and no straight or pair bonuses.
October 12, 2026 · ZarocerRead guide